So it’s been awhile. Actually it’s been June since I’ve posted any Production Log’s for my feature film Gauntlet. Honestly there’s a few reasons why I took a break and I’m not going to dive into all of them but the one that’s worth mentioning is that we hit a road block in our production. Believe it or not, this happens more common than what most people think in creating a film. I’ve experienced multiple roadblocks in this production alone and I’ve handled them appropriately and continued on. That mentality has been with me since the start of production back in 2013 and it made no difference to what happened in July of this year.
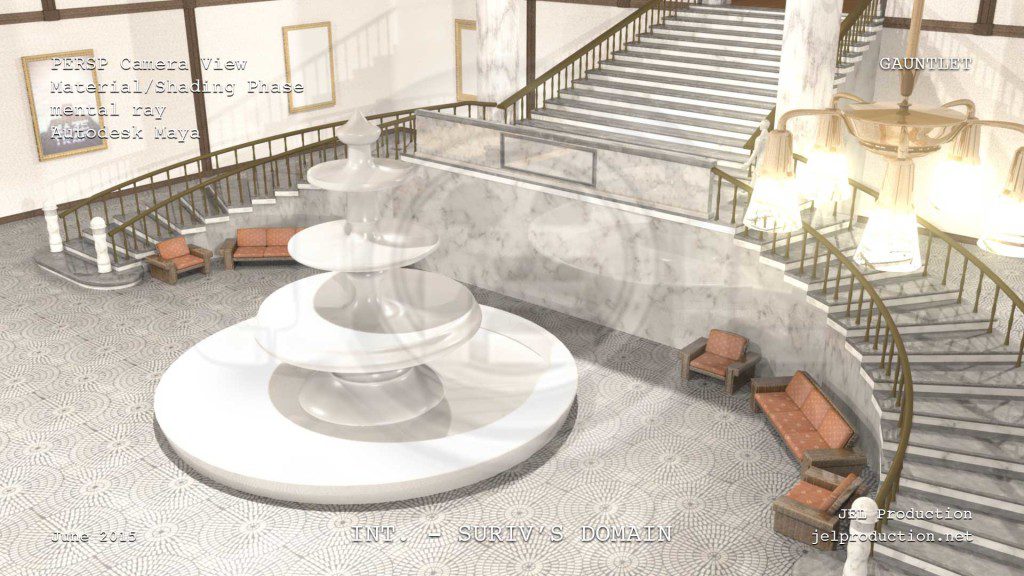
Our roadblock was we couldn’t figure out (at the time) on how to deliver our great work to After Effects successfully to composite. If you remember, we created a massive 3D set in Maya for one of the scenes to take place, which if you missed it you can check it out below:
My goal was to design the set and then take the particular camera shots to composite our actor’s performances on green screen. Because the set was so large and had a lot of data to compute, the process was agonizingly long and glacial in order to see any type of results. Not the most effective way of working.
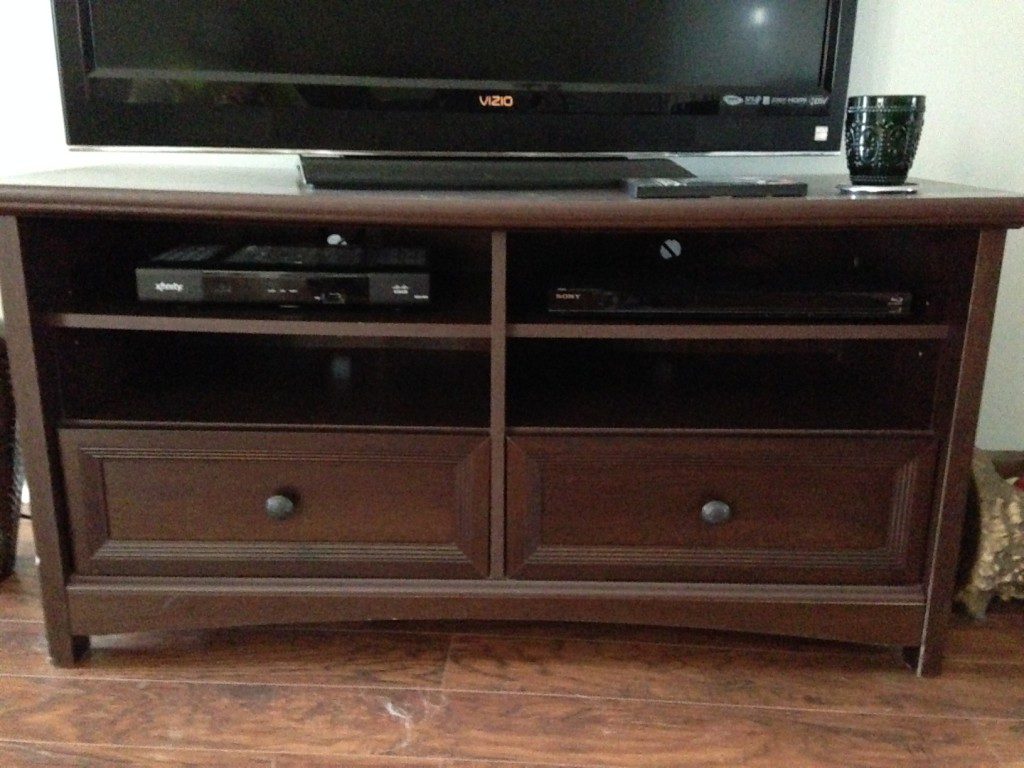
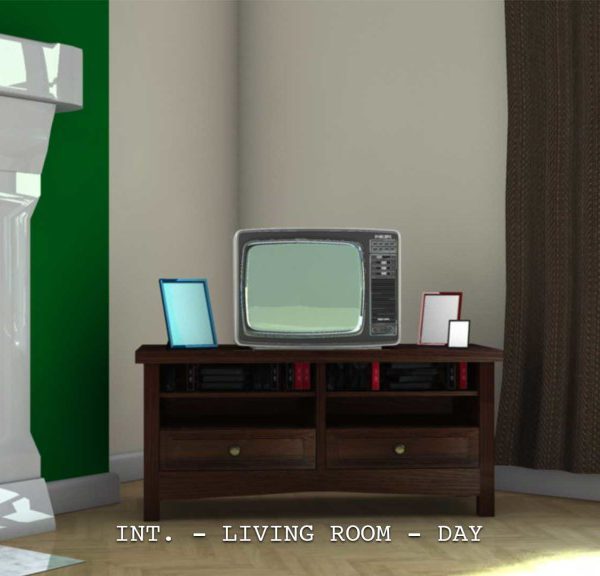
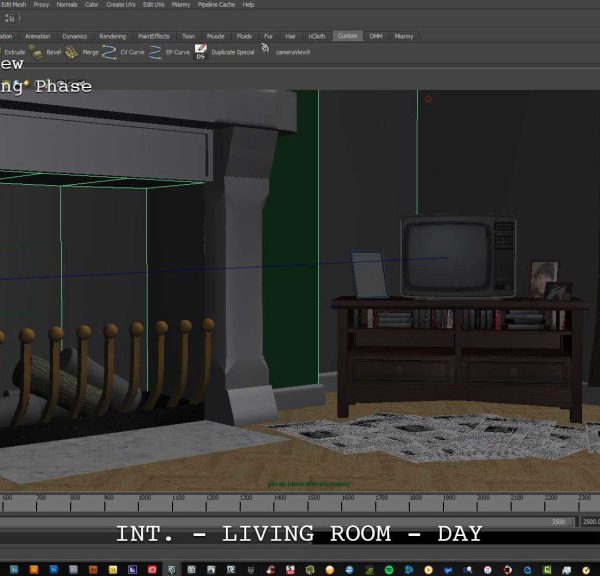
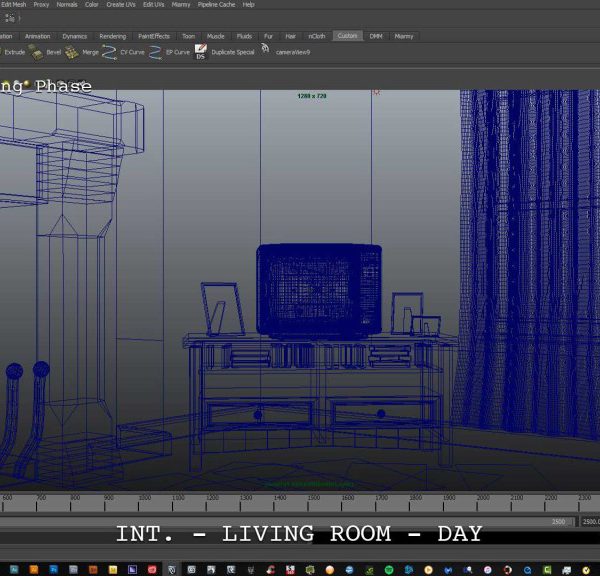
So instead of giving up, I decided to take a break, regroup, and come back at it but this time with a smaller scene so I can work more efficiently to troubleshoot my mistakes. The LIVING ROOM scene is at the beginning of the film where are main character, Michael, has a flashback of watching news reports of the disappearance of his two older brothers. I re-created the living room from the actual place of where I filmed and used the same TV stand as a reference to model as well. Since my film takes place between 1987-1995, you’ll see I put VHS tapes in the TV stand slots and have a retro TV on top. Everything you see I modeled myself excluding the TV and VHS tapes which I purchased off of Turbosquid.
To understand the delivery process of modeling (a.k.a. rendering), I’ll first explain what a pass is for you’ll see me use the term render pass quite a bit.
In cinematography, the term pass traditionally refers to one of many geometrically coherent shots taken in motion control photography, which are then optically or digitally composited to form a visual effects shot. Render passes in Autodesk Maya software are a metaphor for an analogous computer graphics process in which several coherent shots are produced, and subsequently combined using image compositing tools.
Render Pass Concepts and Techniques, Autodesk.
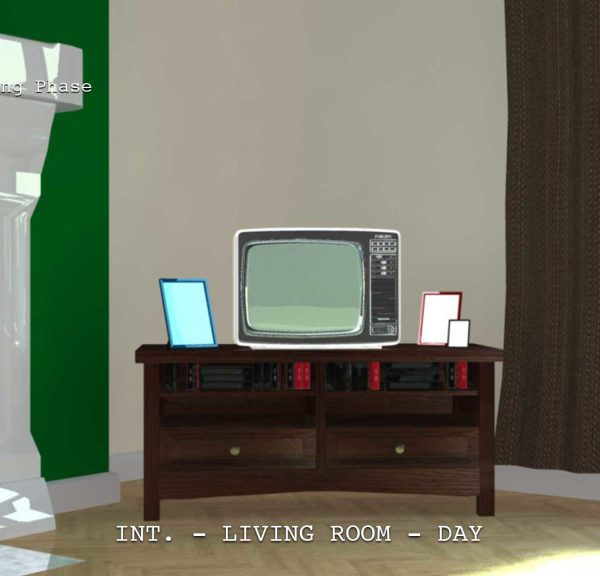
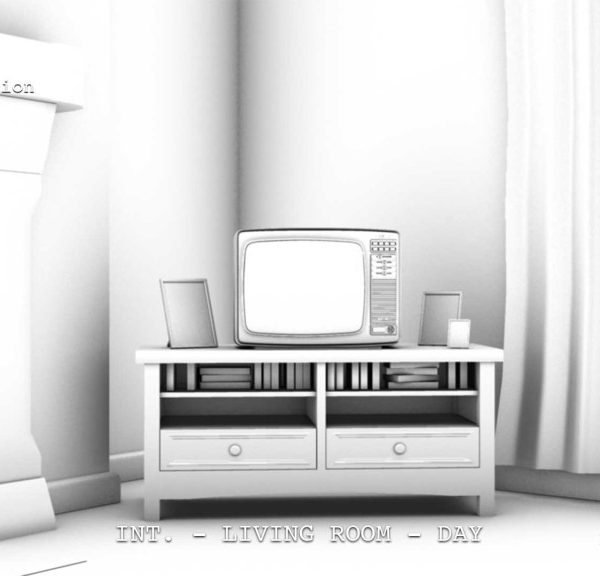
What this means is that you’ll have different passes that you can then composite together to make one shot. This method is extremely useful because you have the most control of how your shot can look, based on the particular render pass. Below you’ll see three screenshots from our scene to give you an example. The first one is the “Beauty Render Pass”, which is the default pass. This is where everything looks like the way you designed it based off of your textures and materials. The second is the “Ambient Occlusion Pass”, or the shading to all of your objects based off the 3D and ambient lights within the scene. Finally, the third is the composite of both the previous two together. We can easily increase or decrease the amount of shading in the shot off of the second pass and it’s not “destructive”, meaning that our changes won’t be permanent.
You can now see how valuable doing your post-work in delivering multiple passes to your composite software can be when designing your shots. This is where I had problems with the previous scene, Suriv’s Theater. Unlike Suriv’s Theater, the render time and troubleshooting for the living room scene was by far faster and easier for me to understand these concepts. There’s more passes that needs to be executed before this scene is complete, like Diffuse and Sun Rays coming from the windows. Then I’ll be ready to begin rendering the whole scene!
On top of doing multiple render passes, I also animated a 3D camera to dolly forward from the shot above all the way up to the TV screen. While the camera moves forward, the montage sequence from our Newscast will be played on the TV, thus giving the audience our backstory for the film. You can check out some of the Newscast stills from one of our previous Log’s on Production Log 13.
So to wrap up, I’m back in the saddle! Deciding to figure out my problems in learning this new software by going back in creating a smaller 3D set was crucial. These new learned techniques will not only help me prepare and model my future 3D sets, but also will allow me to go back to Suriv’s Theater and finish it successfully!
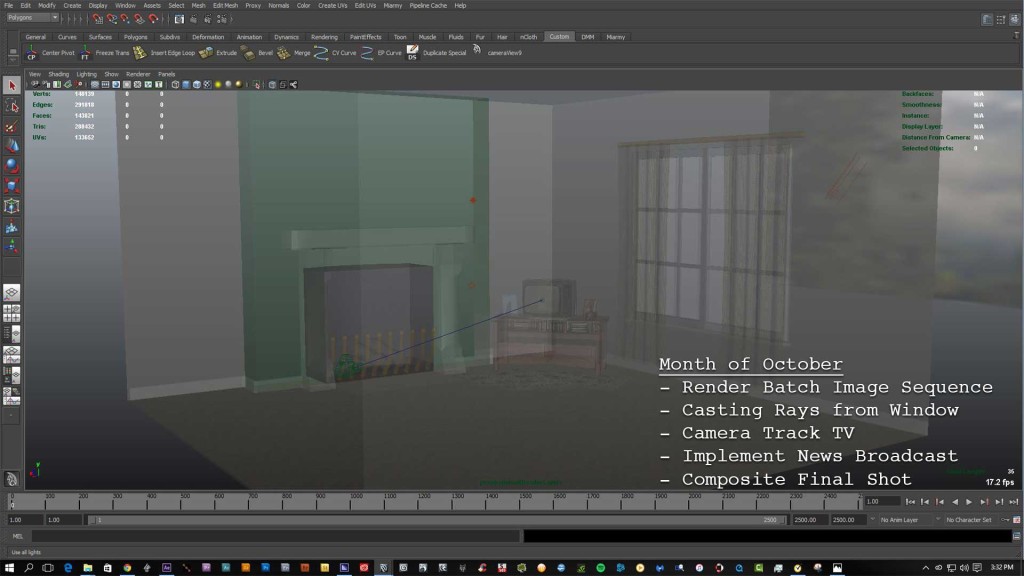
Slated for the following month of October I have a few things that I’d want to get accomplish. Below you’ll see my goals set for the month and if they are all met, I’m done with this scene and can get back to finishing up Suriv’s Theater before 2015 closes out.
Now, create something beautiful!
“I would travel down to Hell and wrestle a film away from the devil if it was necessary.”
– Werner Herzog (Grizzly Man, Rescue Dawn, Encounters at the End of the World)
